Sourdough Discard Crackers with Herbs and Edible Flowers
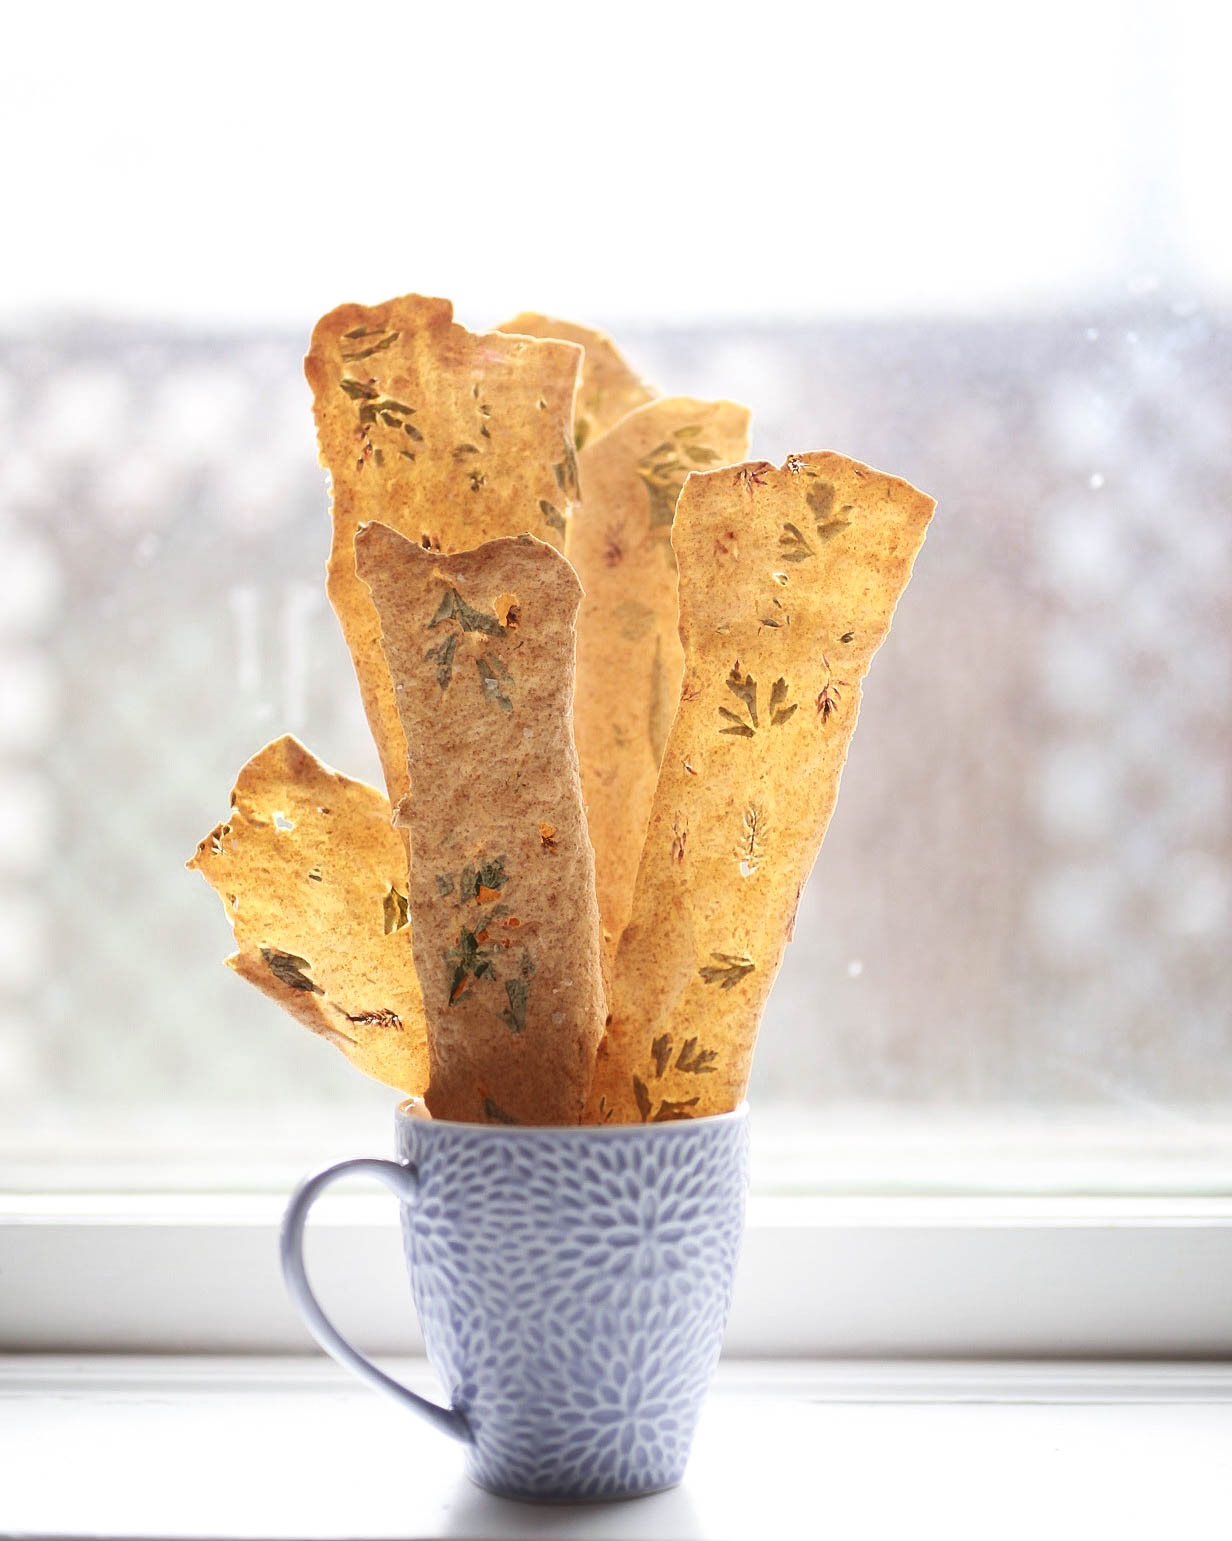
In my continuing quest to find ways to use up my discard sourdough starter, I stumbled across a recipe for sourdough crackers on the Love & Olive Oil blog. To be clear, the recipe called for ripe starter, not discard starter, but, as my bread-making adventures have shown me, discard starter frequently can be substituted for ripe starter with no harm done.
In contemplating a sourdough discard flatbread, I’d had a vision of a crisp cracker showcasing herbs and edible flowers. To see my vision through, I knew I’d need to roll the crackers very thin, and I mused whether I might employ my KitchenAid pasta maker attachment to ease this process. One of the things that instantly drew me to the Love & Olive Oil recipe is that it used the very technique I’d been contemplating — sending the bread dough through the pasta machine to achieve that thin, crisp cracker I’d envisioned.
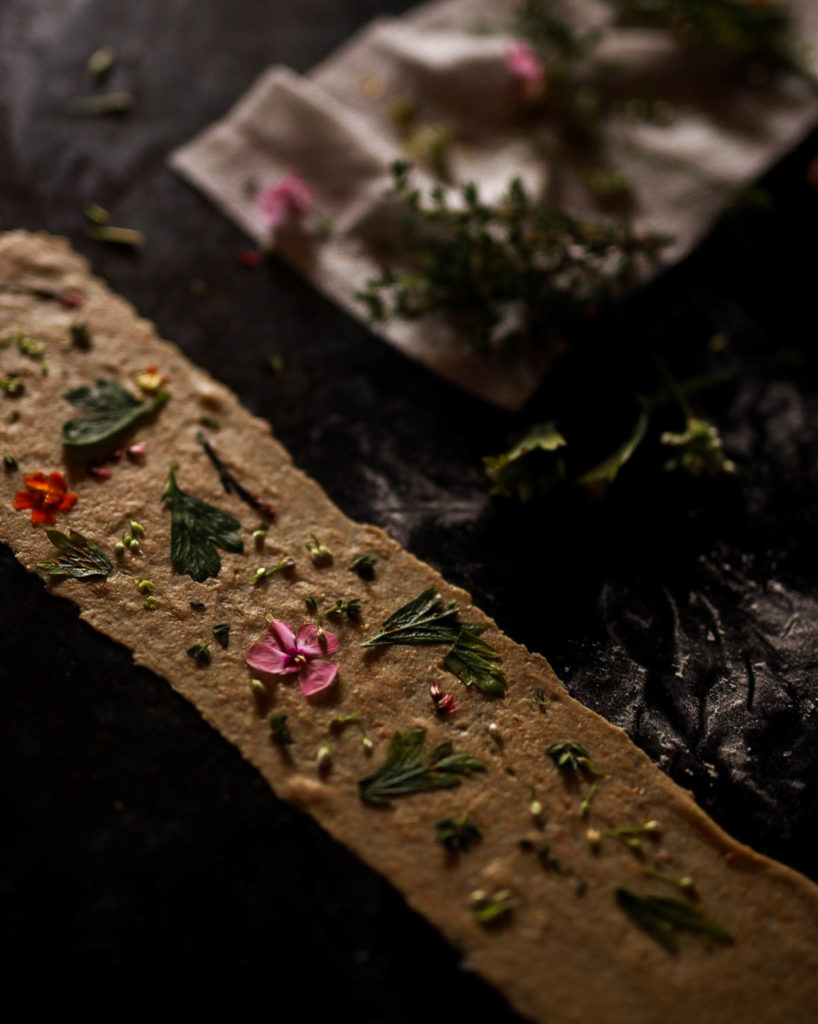
The recipe below, like the original, is quite flexible. You can use whatever herbs and/or edible flowers you have on hand (or none at all). You can use any mix of white and whole grain flour that suits you, though I recommend at least a bit of wheat and/or rye for flavor. (I feed my starter with half whole grain–either wheat or rye–so even when I use almost all white flour in this recipe, I have the whole grain element incorporated.)
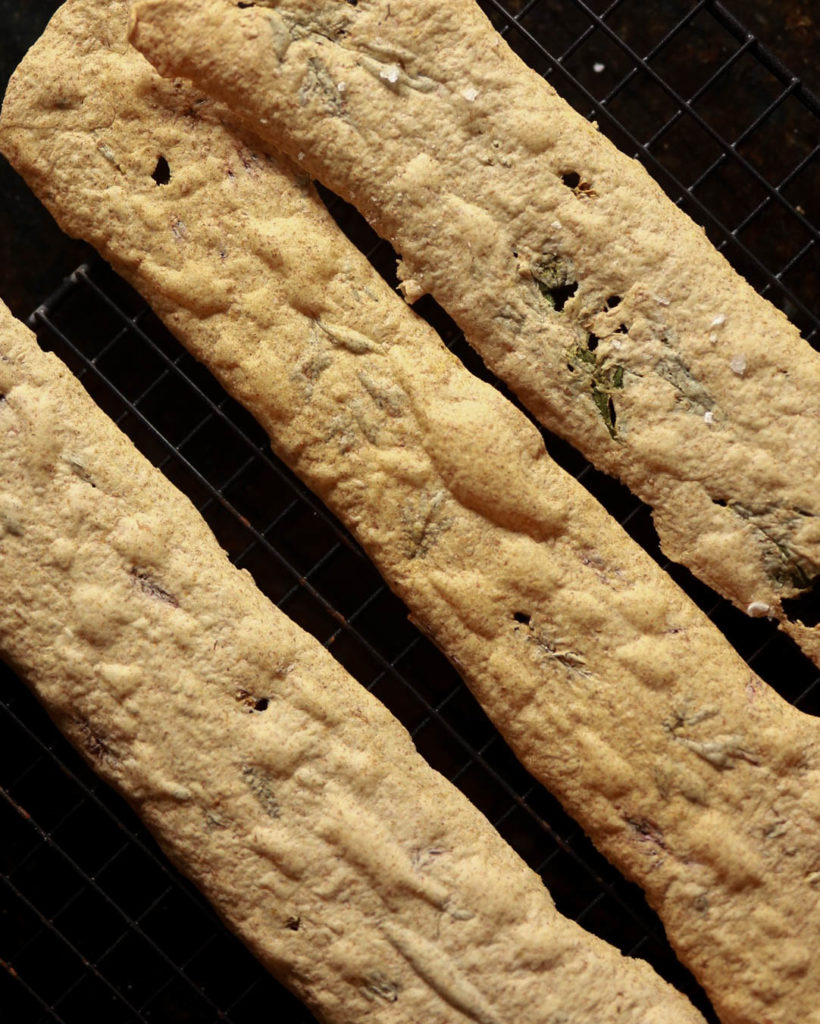
In addition, I’ve found that this dough rolls out very easily. So if you don’t have a pasta machine or KitchenAid pasta maker attachment, fear not. One thing that I do think is key: a generous sprinkling of Maldon or other flaky sea salt. It really brings out the flavor of whatever herbs and/or flowers you choose to include.
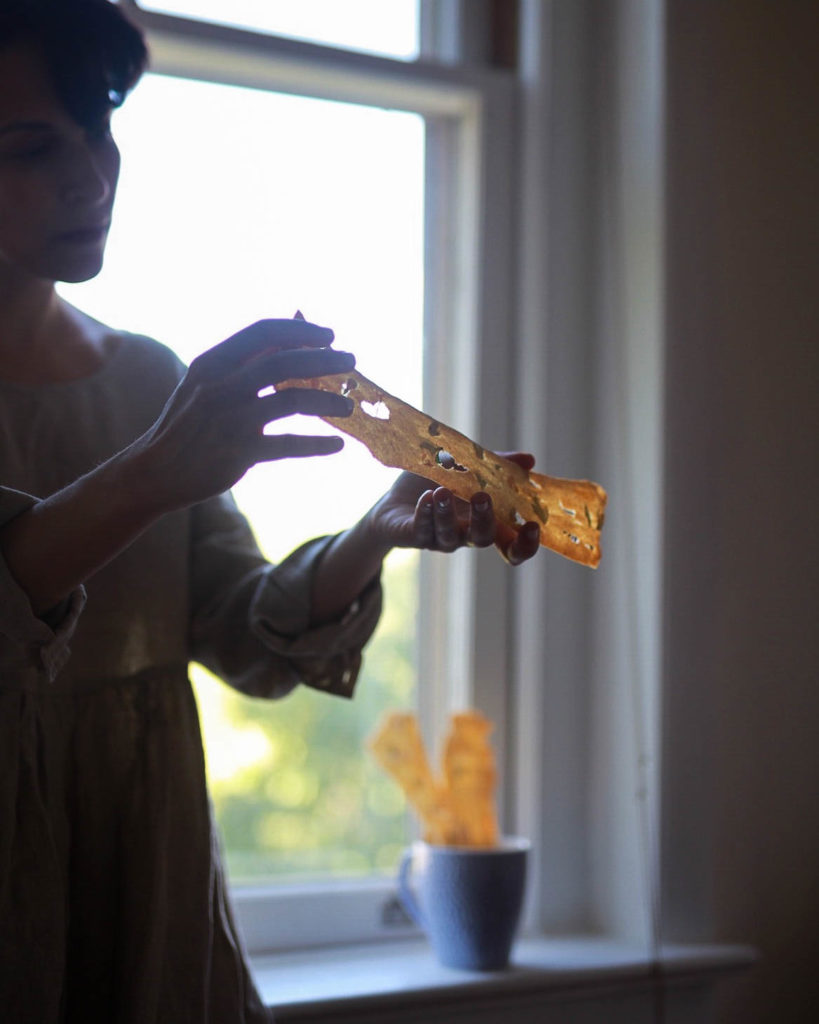
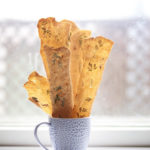
Sourdough Discard Crackers with Herbs and Edible Flowers
A crisp, infinitely adaptable flatbread that puts discard starter to good use. Adapted from a recipe on the blog Love & Olive Oil.
Ingredients
- 200 g discard sourdough starter (100% hydration)
- 75 g all-purpose flour
- 45 g whole wheat flour
- 12 g rye flour
- 3 tbsp (32 g) extra virgin olive oil
- 1/2 tsp fine sea salt
- assorted fresh herbs and/or edible flowers
- Maldon or other flaky sea salt, for topping
Instructions
-
In a large bowl, combine the discard starter, flours, olive oil, and salt. Mix everything together, and then knead the dough until it forms a smooth ball. (About 3-5 minutes of kneading by hand.) Wrap the dough in plastic wrap, and chill in the refrigerator for at least 30 minutes and up to 24 hours.
-
Preheat the oven to 350 F. Line two large baking sheets with parchment paper.
-
Remove the dough from the refrigerator, divide it in half, and place one half back in the fridge. Divide the other half into four roughly equal pieces.
-
Place one of the four pieces of dough on a lightly floured surface, and roll it into a thin rectangle. Then, if you have a pasta machine or KitchenAid pasta maker attachment, roll the dough even thinner by sending it through the pasta machine until you get to setting 6 (out of 8).
-
Place the thin, rolled out sheet of dough on a lightly floured surface, and scatter herbs and edible flower petals over half the sheet. Fold the other half of the dough over the herb-covered portion, encasing the herbs and flowers. Using your hands and/or a rolling pin, gently press and/or roll the dough halves together, so that the herbs and flowers do not fall out.
-
Send the piece of dough, now filled with herbs and flowers, through the pasta machine again, starting at setting 4, and going up to setting 6. (If you don't have a pasta machine, just use a rolling pin to roll the dough out as thinly as possible.)
-
Transfer the the rolled out cracker to the parchment-lined baking sheet. If it is too long to fit, use a knife or dough scraper to trim the cracker, then roll out the scraps, using the method described above.
-
Repeat with additional pieces of dough until you have filled the first baking sheet.
-
Spritz the rolled out crackers with water, then sprinkle with Maldon.
-
Place in the preheated oven and bake for 12-15 minutes, turning the pan halfway through, until the crackers are crisp and starting to turn a light golden brown. When done, remove the baking sheet from the oven, and gently transfer the crackers to a wire rack to cool.
-
While the first pan is baking, repeat the process above to fill the second baking sheet, and bake as described above.
-
Continue forming crackers, filling each baking sheet, and baking, until you have used the first four pieces of dough. And then repeat with the dough left in the refrigerator.
Recipe Notes
- You can use pretty much any sort of herbs or edible flowers for this recipe. I’ve used parsley, thyme, lavender, small chive blossoms, and lots of different edible flower petals. Unless the flowers and herb springs are small and flat, just make sure that you’re using just leaves and petals, or else the dough might tear.
- The flour ratio above is the one I used the first time I made the recipe, but you can use pretty much any combination of flour you want, as long as it is at least 50% all purpose flour. I feed my starter with half all purpose and half wheat or rye flour, so, even when I’ve used mostly all-purpose for the added flour component, my crackers have had a good portion of whole grain.
- The crackers will keep in an air-tight container for at least several days.

this recipe looks beautiful, thank you so much for sharing it! I have a question on the knead consistency. Should the dough be a rather thick and tough to mix, or should it be quite pliable and soft? I would appreciate knowing the consistency i should look out for. Thank you!
It’s pretty thick – you should be able to begin to mix it together with a spoon or silicone spatula, but will need to knead with your hands to get it smooth. That said, I wouldn’t call it “tough.” It should be pretty easy to roll out once it has rested in the fridge for 30 minutes.
As we are all staying home these days, we have been doing a lot more baking than is our norm.
We plan to make your crackers this morning!
My reason for commenting before we bake is just to tell you how much I love your recipes and gorgeous photos!
???? We will let you know how they turn out.
I’m so glad you’re enjoying the recipes! If you ever want to share pictures of how the bread/crackers turn out, I love to see how my recipes turn out “in the wild.” 🙂
Plan to try this recipe out soon! Tried another cracker recipe for discard starter but I can tell your recipe will be even better! By the way, I’m looking for recipes that not only use discard starter but also require any added flour to be fermented as well. Would love any recipes you have, as well as any advice on how to either modify a recipe or how to create my own recipes. Thanks!
Hope the recipe works for you. Not sure what you mean about added flour being fermented – you mean you want the bread to rise? I have a recipe for a country loaf with discard starter that might fit the bill!
Elizabeth, thx for your prompt reply (love your site- gorgeous photos and such creative recipes!). I’m prediabetic, looking for ways to lower my glucose readings. I have read that fermented baked goods do just that. At the same time, I’m looking for sourdough discard recipes. With this said, it makes sense that categories #3 and #2 below, would be the healthier approach/strategy for me. The info is from “Cultures for Health.com”
FERMENTED VS. UNFERMENTED DISCARDED STARTER RECIPES
The recipes that meet the above criteria can be broken down into three categories:
1. Sourdough Flavor, Unfermented Flour. Recipes that call for added flour, no fermentation or soaking time, and are baked immediately. The sourdough starter adds flavor but the flour or grain in the final product is unfermented.
2. Sourdough Flavor, Fermented Flour. Recipes that include additional flour which is fermented (or soaked) for some time before baking. The sourdough starter not only adds flavor in this case, but the flour or grains in the final product are fermented.
3. Sourdough Flavor, No Flour Added. Recipes that call only for discarded starter and no additional flour, and therefore have no need for further fermentation.
Got it! I think my country loaf would be in category 2. The sourdough discard crackers I think are category 1. For category 3, I recently made a discard “scallion pancake” — just mix discard starter with chopped scallions and a bit of salt and fry!
This sourdough discard cracker recipe can easily be category 2 if you do a longer fridge fermentation (as instructions indicate up to 24 hours).
Good to know!
Made these today. Love the versatility of the additions and the rustic beauty of the end product. Thank you for giving me another recipe for the never ending starter 🙂
So glad you enjoyed the recipe!